WaxGuard HF3
$8.80

- 4.5 on TrustPilot - over 2,000 reviews
- Free shipping on purchases over $70
- 90-Day Return Policy
Hearing aids are constantly exposed to earwax, dirt, and moisture. By using a wax filter, you protect the hearing aid from harmful particles, which are the most common cause of hearing aid repairs. Therefore, you can help reduce the number of repairs, improve performance, and extend the life of the hearing aid.
HF3 wax filters are used for both in-ear hearing aids and some behind-the-ear hearing aids with speakers in the ear canal. Replace your filters as needed. If there is no sound in the hearing aid, and the battery has been changed, it is often because the filter needs to be replaced.
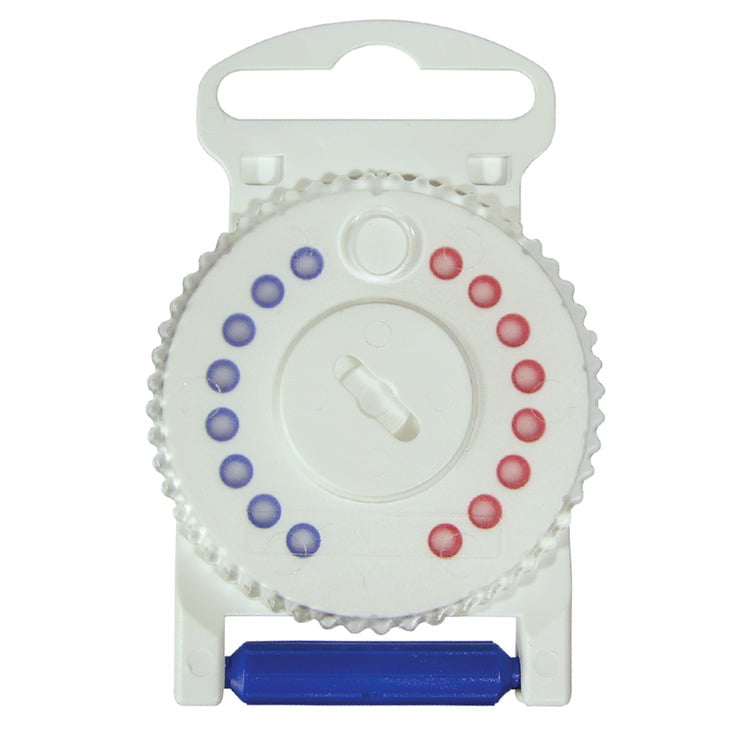
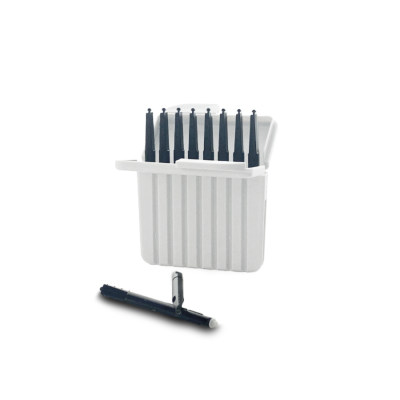
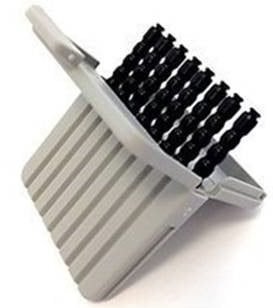
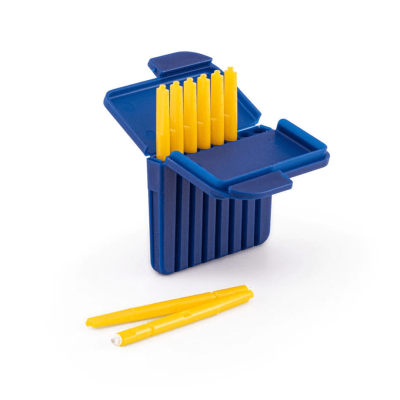
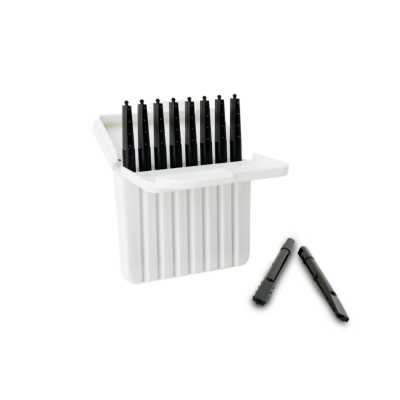
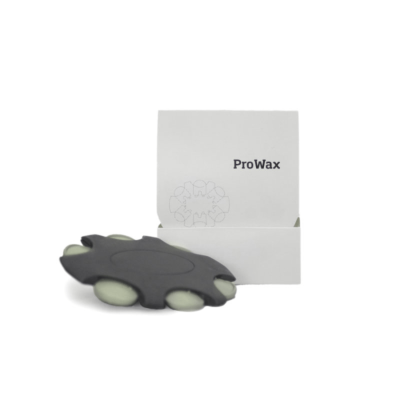
The package includes 16 HF3 wax filters and a replacement tool.
Benefits of HF3 Wax Filters
- Ensures optimal sound quality
- Reduces repairs and extends the lifespan
- Color coding for right and left hearing aids
Read more in the description below.
Why you should choose HF3 Wax Filters
The wax filter protects against harmful particles that can enter the hearing aid. Replacing wax filters ensures that your hearing aids maintain good sound quality and extend the lifespan of your hearing aids. The filters are color-coded – the red filters are intended for the right hearing aid, and the blue filters are intended for the left hearing aid. By replacing the filters at least every 4 weeks, you ensure that you always get optimal sound and avoid moisture from entering the hearing aid. Below, you will find a step-by-step guide so you can easily and quickly change the filters in your hearing aids.
Replacing HF3 Wax Filters
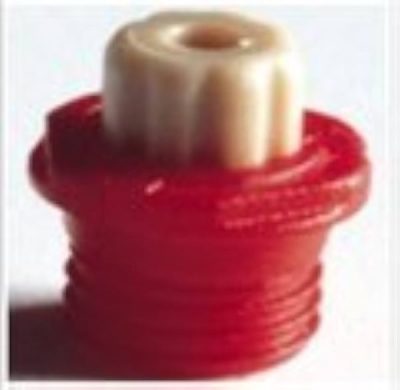
The wax filter is located at the end of the sound output.
- Find the sound output and use the wax filter tool to replace the filter.
- Insert the threaded end of the wax filter tool into the used wax filter and turn it clockwise.
- Gently pull until the used filter is removed.
- Dispose of the used filter in the hole in the wax filter set by pressing it down in the center and pushing it to one end of the opening, and pull until the filter releases.
- Flip the wax filter tool, find a new filter in the wheel, and press the tool’s tip into the center of the wheel.
- Gently pull the new filter out of the disc.
- Place the new filter so that it aligns with the sound output.
- Press the new filter into the opening while rocking back and forth until the new wax filter is in place.
Features:
Wax filters for hearing aids
Protects the hearing aid from earwax and dirt
Easy replacement
Technical Data:
Diameter: 3 mm
Color coding
Package Includes:
16 HF3 wax filters (8 red and 8 blue)
Replacement tool
| Weight | 10 g |
|---|
Only logged in customers who have purchased this product may leave a review.
Related products

Reviews
There are no reviews yet.